Create & Configure account
This documents guides you through the main steps to create your first interactions.
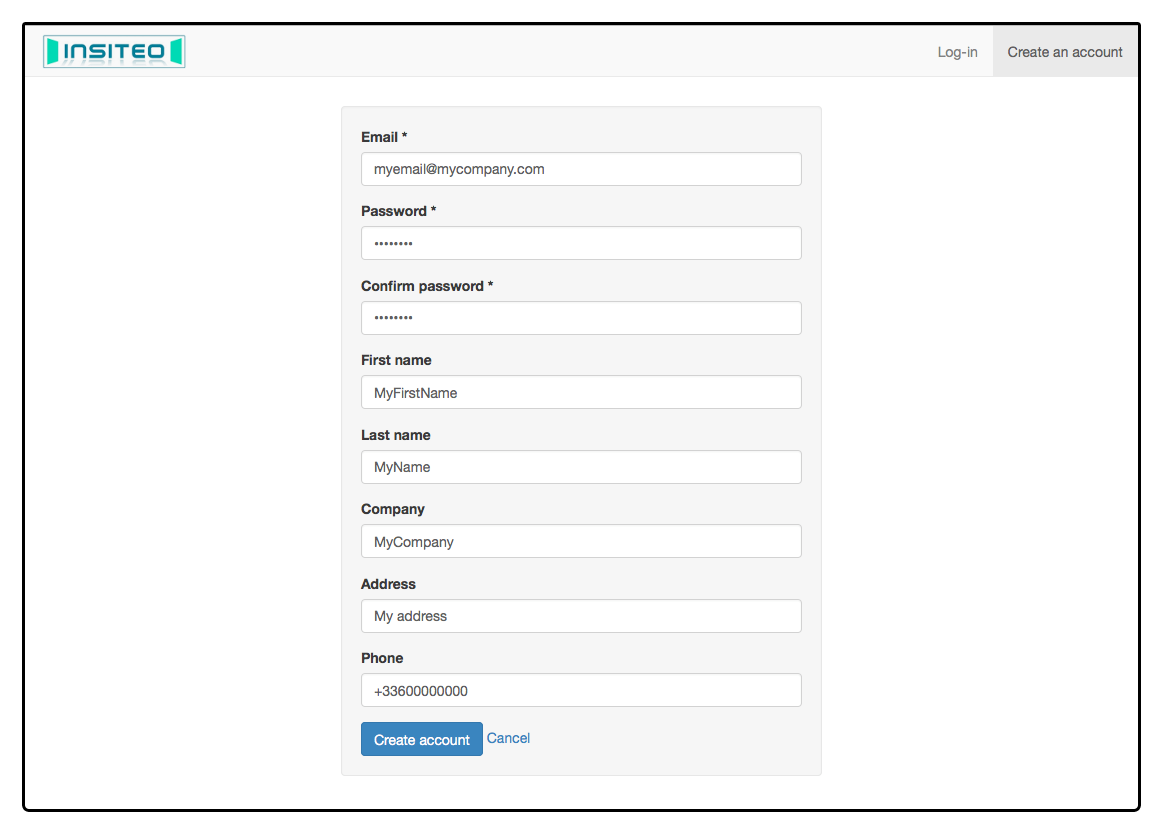
1 - Create your account
First of all, create your account on our Web interface. Once registered, you will receive a confirmation e-mail.
2 - Declare your Sites, beacons & enable monitoring Regions
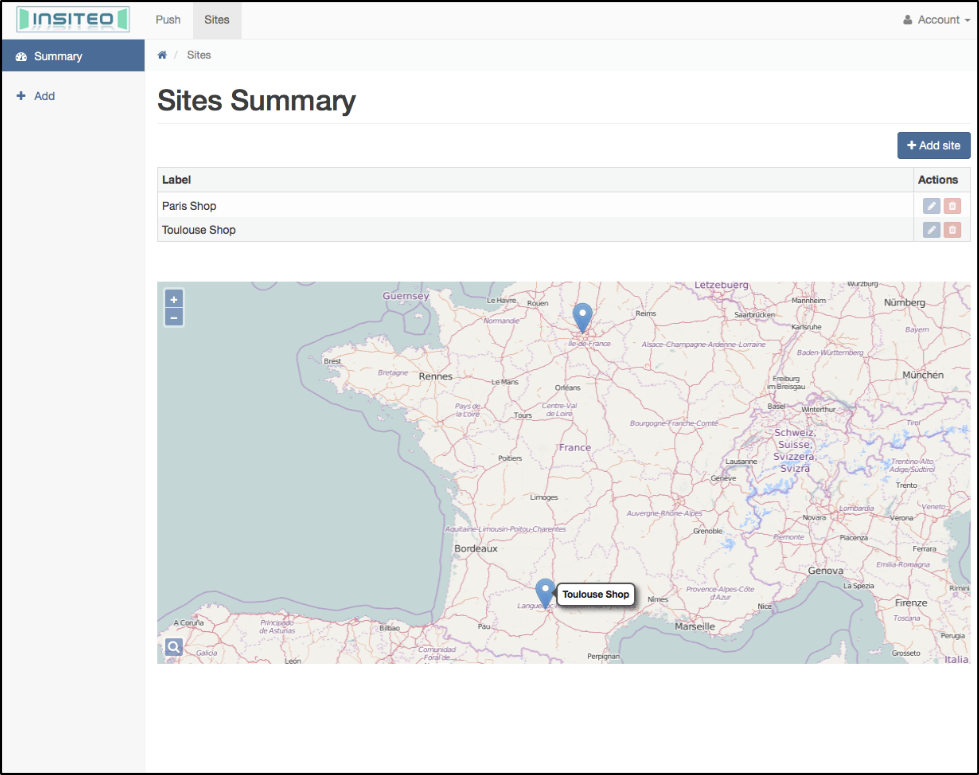
First of all, it is required that you declare at least ons Siteto assocaite your beacons with.
This can easily be done in the Sitessection of the interface
Then, in the Beacons management menu, declare the beacons you want to use.
You can add/edit/remove beacons at any stage.
![]()
![]()
In order to allow the mobile SDKs to monitor beacons and handle related actions, you must enable monitoring Regions. The simplest way forward is to declare one main global Region containing the UUID of all your beacons.
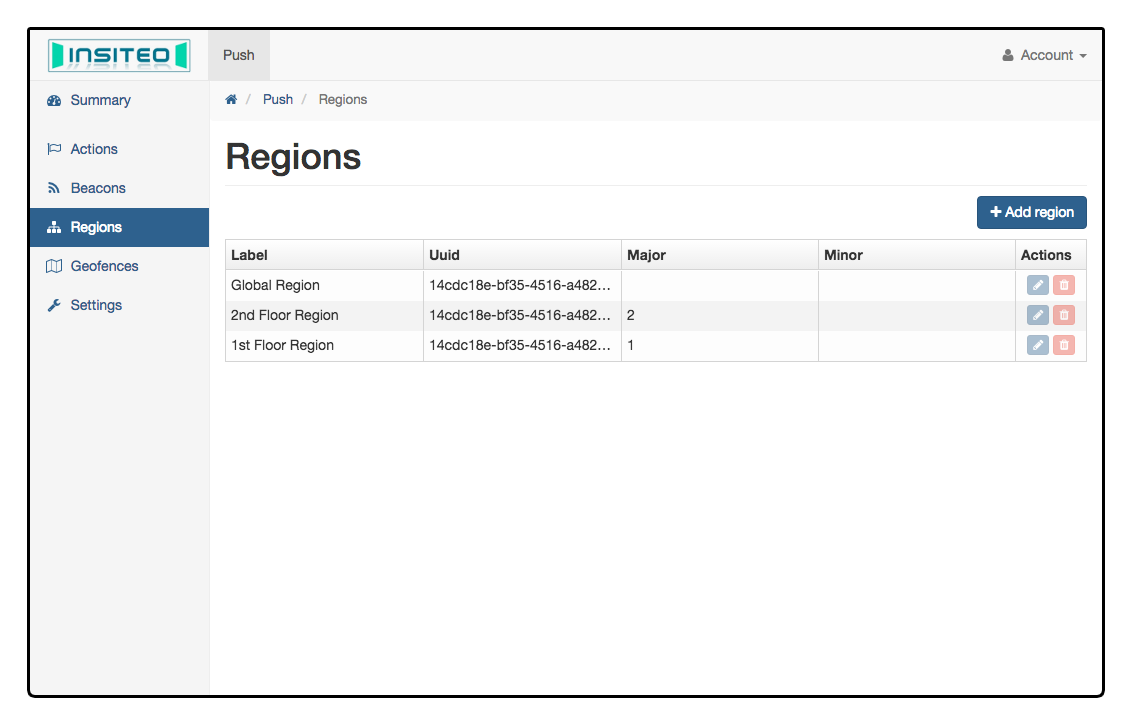
If you want to configure a richer Region topology, you may add other Regions at any further stage.
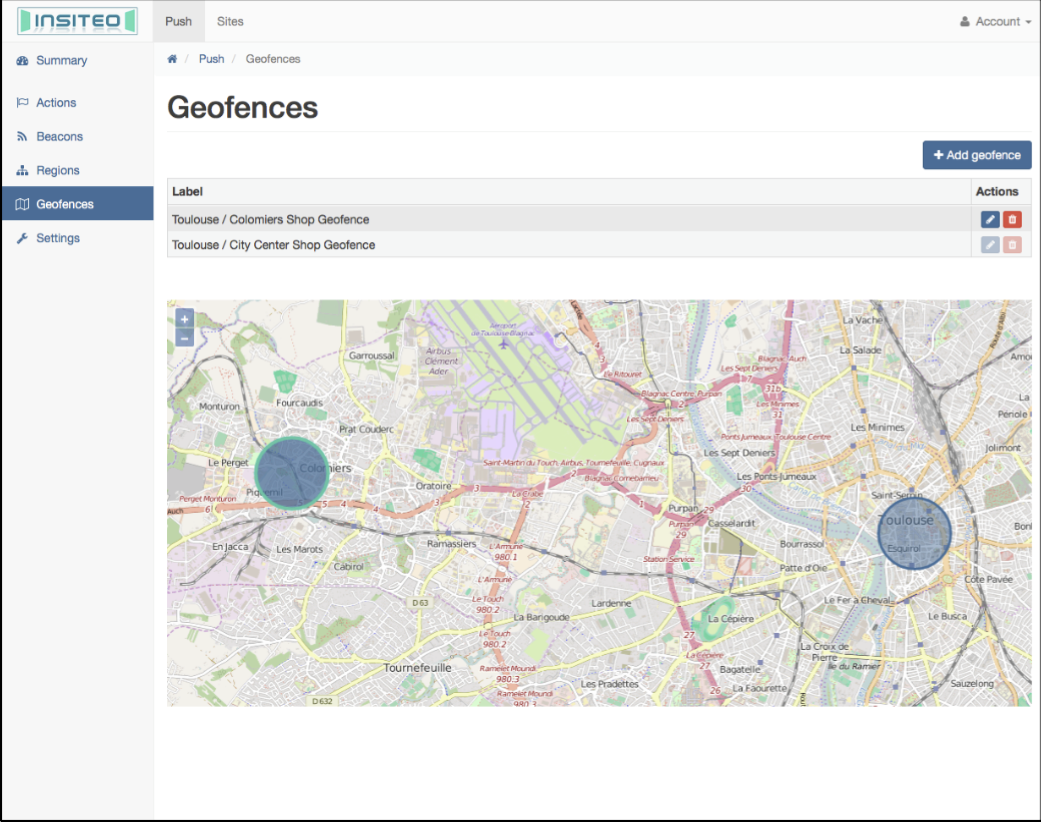
3 - Declare your Geofences
In the Geofences menu, you can create and manage Geofences.
You can add/edit/remove geofences at any stage.
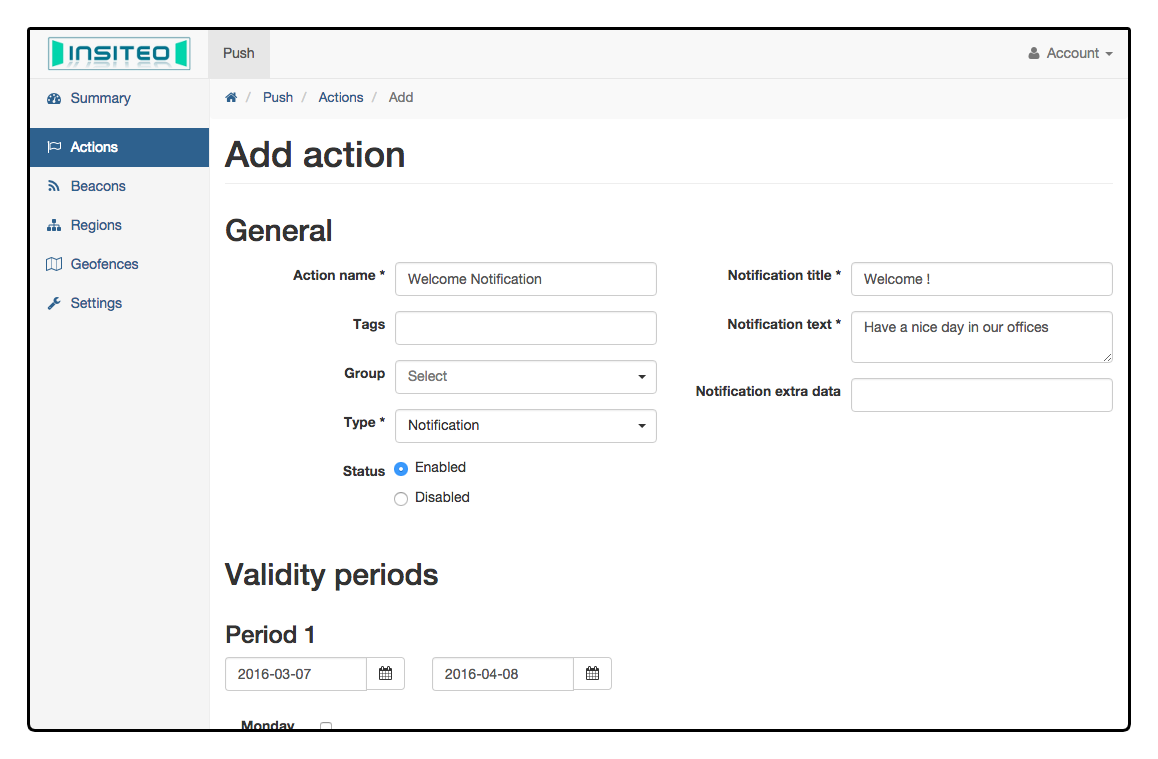
4 - Declare your proximity interactions
Once beacons and Regions are declared, you can configure as many Actions as you wish.
Actions should at least have :
- a
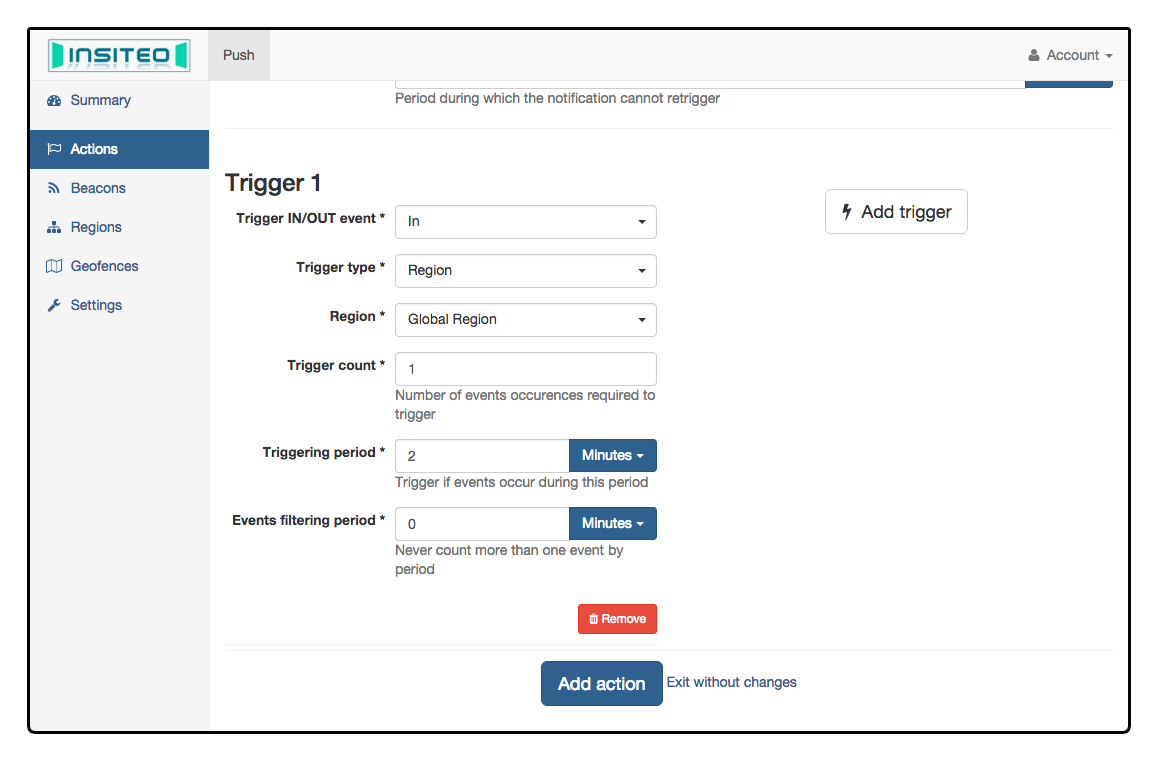
Type(Notification, Webview, Custom, …) - a
Trigger(Beacon, Region or Geofence proximity, triggering rules, …)
Validity periods and action Groups are optional.
For a full description of all the Actions you can create, please refer to: Technical solution overview
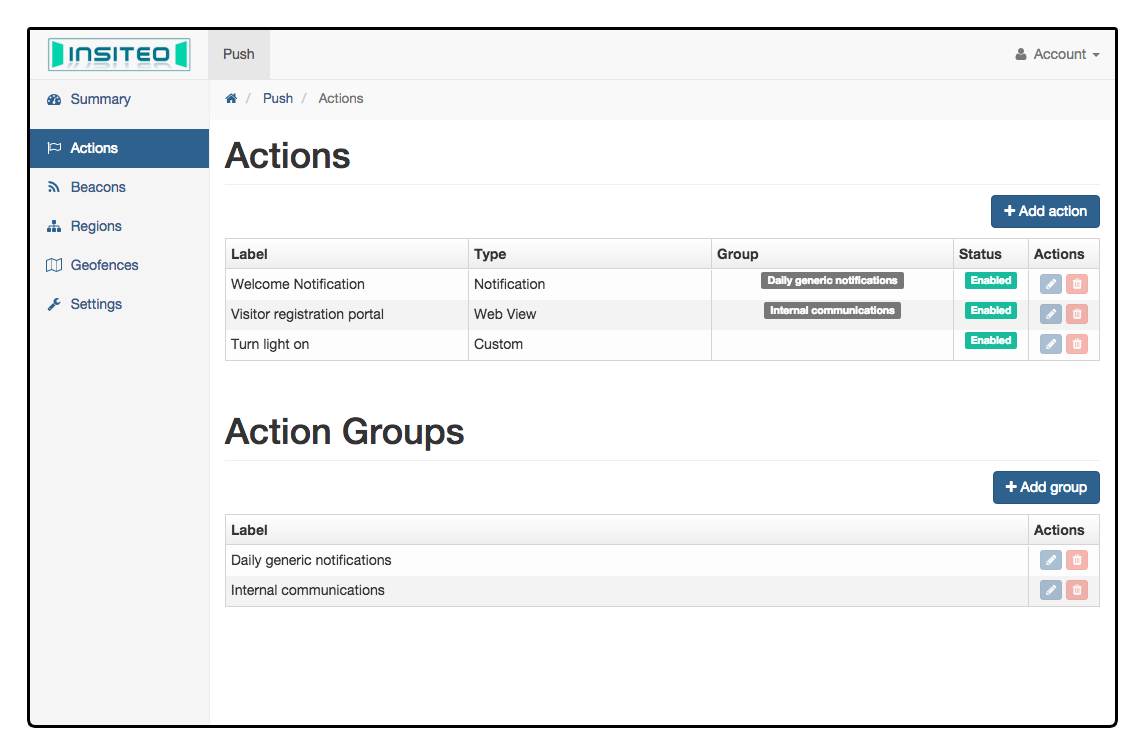
The Action main panel provides an overview of all Actions:
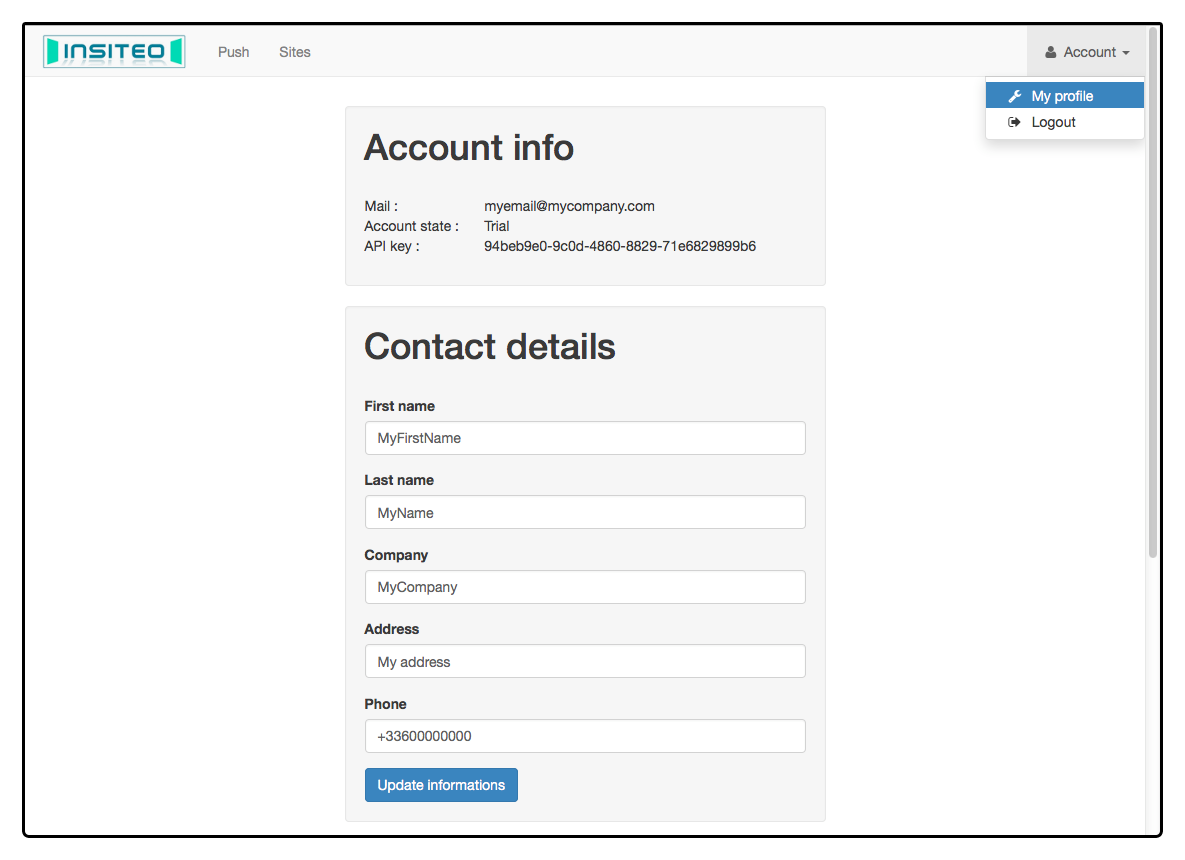
5 - Retrieve your API Key
Last step before you get started: find your API Key in your Profilemenu. You will need it to initialize the SDK on the mobile side.
Get started with the mobile SDK: SDK download and How-to